Solved: How to Add Side Padding to A Website Section in Shopify Backend
We were recently challenged with a small, and yet what appeared to to be a straight up question with an easy solution.
How do you add side padding to a block on a website page in Shopify?
Problem: The block/section stretched from side to side and didn’t follow the width of the content above and blow the section.

Desktop

Mobile
Solution: By using the Shopify Custom CSS input area for the block we solved it by adding the code snippet below. In this case 50px padding was required on each side to work well on both mobile and desktop.
{
margin-left: 50px;
margin-right: 50px;
}
This solution enables us to add custom styles to this section only without affecting any other content on the page.

Desktop

Mobile
Step by step guide to adding side padding/margin to a Shopify website page section if your theme doesn’t have the feature built in
1. Log into your website backend
2. Navigate to Online Store, Themes in the left hand menu
3. Click “Customize”
4. Choose the page template/create new page template
5. Add/click on the block or section you want to edit and add padding to
6. Go to the “Custom CSS” section and click to open
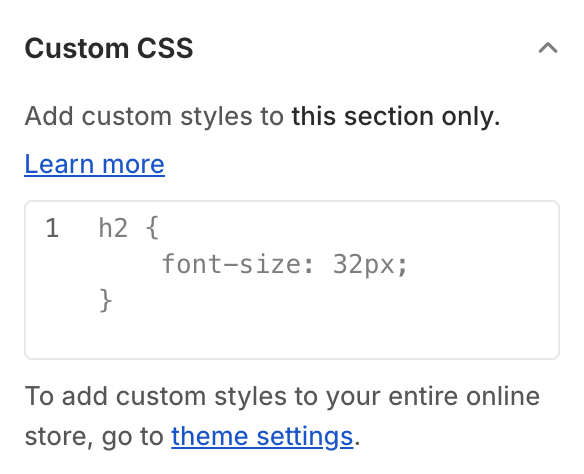
7. Input the code and adjust the padding as needed
{
margin-left: [insert your padding number]px;
margin-right: [insert your padding number]px;
}

8. Save
9. Done
Advanced Shopify Section Side Padding for content
Alternatively, if you need the content to perfectly align above and below sections. Find the content max width and use this as the base line and then adding padding to match the above and below content. Example:
{
max-width: 1280px;
margin: 0 auto;
}
@media screen and (max-width: 1280px) {
{
padding: 0 30px;
}
}
Good luck!